
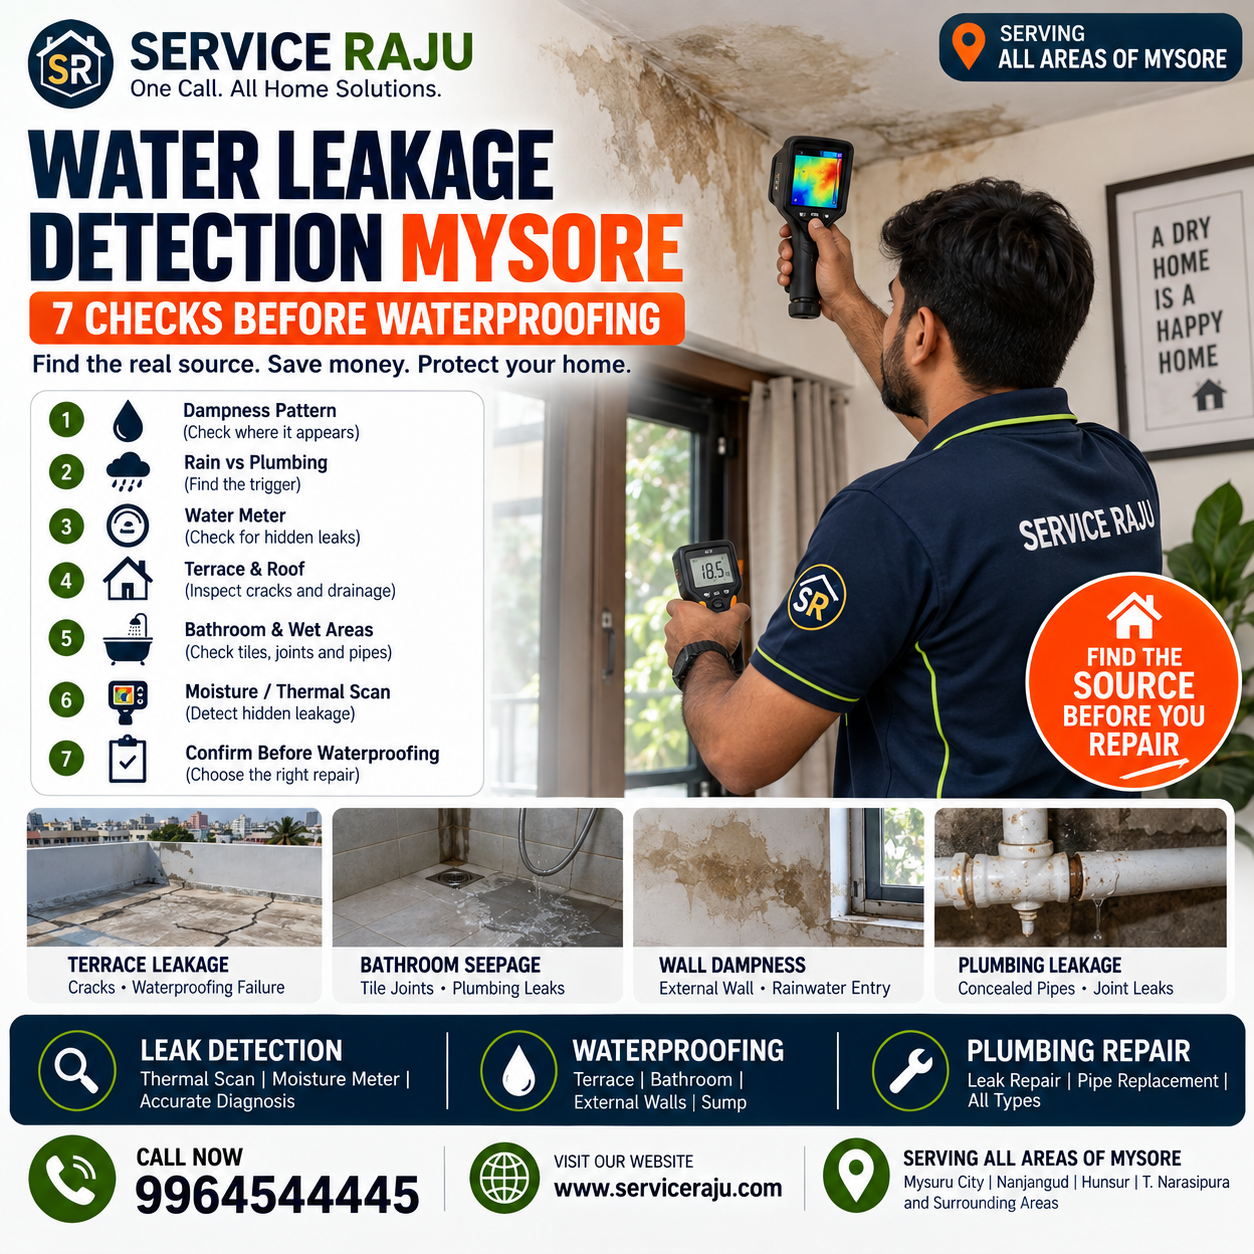
If you need water leakage detection Mysore homeowners should resist one common temptation: waterproofing the visible damp area before finding out where the water is actually coming from. A ceiling stain, peeling paint or damp wall is a symptom. The source could be a concealed plumbing leak, bathroom seepage, terrace waterproofing failure, external-wall penetration or another drainage problem.
This distinction matters because applying a new waterproofing layer over the wrong problem can leave the actual leak untouched.
That issue is particularly relevant right now. A recent Karnataka RERA decision involving a Bengaluru top-floor apartment ordered the builder to rectify recurring water leakage at its own expense and stressed that the effectiveness of the rectification should be assessed.
For homeowners in Mysuru, the practical lesson is simple: find the source, select the correct repair method, then waterproof where waterproofing is actually required.
Why You Should Detect the Leak Before Waterproofing
Water can travel through concrete, masonry, joints and building finishes before appearing somewhere completely different from its entry point.
For example:
- A terrace leak may appear as a ceiling stain several feet away.
- A bathroom pipe leak may create dampness in an adjacent bedroom wall.
- An external-wall crack may cause interior paint to bubble.
- A concealed water-line leak may look similar to rain-related seepage.
- A failed bathroom waterproofing layer may cause dampness on the ceiling below.
This is why waterproofing Mysore work should not automatically begin as soon as a damp patch is noticed.
The first question should be:
Where is the water entering, and what is allowing it to travel?
The Bureau of Indian Standards’ National Building Code includes provisions covering building construction, plumbing services, drainage and sanitation, reinforcing the importance of proper building and plumbing systems rather than treating moisture only as a surface-finishing problem.
7 Checks for Water Leakage Detection in Mysore
1. Check Where the Dampness Appears
Start by mapping the visible symptoms.
Look carefully at:
- Ceiling corners
- Wall junctions
- Window edges
- Bathroom walls
- Bedroom walls adjacent to bathrooms
- Terrace ceilings
- Areas below overhead tanks
- Exterior-facing walls
- Floor edges
Take photographs when the dampness first appears and again after rainfall or water usage.
This can help reveal whether the affected area is changing.
A damp patch that grows after rain points toward a different investigation path from one that becomes worse whenever someone takes a shower upstairs.
2. Test Whether the Leak Changes With Rain
Rain-related seepage often has a pattern.
Ask:
- Does the dampness appear only after rainfall?
- Does it become worse during prolonged rain?
- Does it continue several days after rain?
- Does it disappear during dry weather?
- Is the affected wall directly exposed to the exterior?
If the problem appears specifically after rain, inspect: - Terrace surface
- Roof cracks
- Parapet-wall joints
- Rainwater outlets
- External walls
- Balcony slabs
- Window and door junctions
- Waterproofing termination points
Don’t assume every rain-related damp patch requires the same waterproofing system.
The entry point needs to be identified first.
3. Check Plumbing Fixtures and Water Lines
If dampness appears even when there is no rain, investigate plumbing.
Check nearby:
- Bathroom supply lines
- Shower areas
- Wash basins
- Toilets
- Kitchen plumbing
- Washing-machine connections
- Water heaters
- Concealed water pipes
- Floor traps
A plumbing leak can continuously introduce moisture into a wall or floor.
One useful homeowner check is to stop water use throughout the property and observe the water meter. If the meter continues registering consumption when all taps and water-using appliances are off, a concealed leak may be worth investigating.
This simple test does not identify the exact location, but it can indicate that further leak detection Mysore is warranted.
4. Monitor the Water Meter
An unexplained increase in water consumption can sometimes be an early warning sign of a hidden plumbing leak.
Before assuming the leak is inside the building, check:
- Turn off taps.
- Stop water-using appliances.
- Make sure toilets are not refilling.
- Check the meter.
- Observe whether it continues moving.
If the meter is still registering flow, there may be water usage or leakage somewhere in the system.
However, a meter test cannot detect every type of seepage. Rainwater entering through a terrace, for example, has nothing to do with your household water meter.
This is why the source must be investigated based on the complete set of symptoms.
5. Inspect the Terrace and Roof
The terrace is one of the most important areas to inspect when water appears on an upper-floor ceiling.
Look for:
- Cracks
- Ponding water
- Damaged surface layers
- Open joints
- Parapet-wall junctions
- Blocked rainwater outlets
- Damaged pipe penetrations
- Previous repair patches
- Loose or deteriorated finishes
A waterproofing system is not simply a liquid coating applied randomly over a roof.
The substrate, cracks, joints, drainage, slope, surface condition and existing waterproofing system all influence the appropriate repair approach.
CPWD specifications, for example, describe structured waterproofing systems with layers, primers, membranes, grading and detailing rather than treating waterproofing as a single coat of paint.
6. Check Bathroom and Wet Areas
Bathrooms are another major source of recurring seepage.
Inspect:
- Shower area
- Floor-wall junctions
- Around the toilet
- Pipe penetrations
- Floor traps
- Wall tiles
- Grout and joints
- Plumbing connections
- Ceiling below the bathroom
A bathroom leak can be caused by plumbing or waterproofing—or sometimes both.
If a ceiling below the bathroom is damp, don’t immediately assume the entire bathroom floor needs to be removed.
First determine whether the water is coming from a pipe, fixture, joint or waterproofing failure.
Indian Standards specifically address waterproofing and damp-proofing recommendations for wet areas including bathrooms, water closets, balconies, external walls and domestic overhead tanks.
7. Test the Suspected Area Before Waterproofing
Once the likely source has been identified, the next step is confirming the diagnosis.
Depending on the situation, professional investigation may involve:
- Visual inspection
- Moisture-meter readings
- Thermal imaging
- Water testing
- Plumbing pressure testing
- Drainage checks
- Targeted inspection of joints and pipe connections
Thermal imaging can be useful for locating abnormal temperature patterns associated with moisture, but it does not literally “see water.” It should be interpreted together with building conditions and other evidence.
Service Raju’s current leak-detection offering describes a combination of hydro-pressure testing, thermal scanning, moisture analysis and non-destructive diagnosis for advanced leak investigation.
The goal is not to use technology simply because it sounds advanced. The goal is to gather enough evidence to identify the most likely source before unnecessary demolition or waterproofing begins.
Water Leakage Detection vs Waterproofing: What Comes First?
This is one of the most important questions homeowners ask.
The basic sequence should usually be:
1. Observe → 2. Inspect → 3. Identify likely source → 4. Confirm where practical → 5. Repair the source → 6. Waterproof if required → 7. Test again → 8. Restore finishes
For example:
Scenario 1: Concealed pipe leak
If a bathroom wall is damp because of a leaking water pipe, applying waterproofing to the outside of the wall will not repair the pipe.
The pipe needs to be repaired first.
Scenario 2: Terrace seepage
If rainwater is entering through a terrace crack or failed waterproofing layer, the roof surface and associated detailing may require waterproofing repair.
Scenario 3: External wall seepage
If rainwater is entering through cracks or poorly sealed exterior details, the external wall may require crack treatment, joint repair and suitable weatherproofing.
Scenario 4: Bathroom waterproofing failure
If plumbing is sound but water is passing through the wet-area floor or wall system, the waterproofing system may need appropriate repair or replacement.
The correct treatment depends on the diagnosis.
Why Waterproofing Sometimes Fails
When homeowners say, “We waterproofed it last year, but the leakage is back,” the waterproofing material is not automatically the only suspect.
Common reasons for recurring seepage include:
The original source was misidentified
The visible dampness may not have been the actual entry point.
Plumbing was not repaired
A leaking pipe can continue feeding moisture into the structure even after nearby waterproofing work.
Cracks were not properly treated
A coating may not solve a structural or movement-related crack unless the crack is appropriately assessed and treated.
Drainage problems remain
A terrace with poor drainage or blocked outlets can continue exposing the surface to standing water.
Detailing was ignored
Corners, pipe penetrations, joints, parapets and termination points can be weak areas if not properly detailed.
The substrate was not prepared correctly
Dust, loose material, contamination, moisture conditions and surface defects can affect the performance of waterproofing systems.
The repaired area was too small
If water can enter through a connected pathway outside the treated zone, the problem may continue.
The system was not tested
Waterproofing should be evaluated according to the applicable method and project requirements rather than simply assuming that a new coating has solved the problem.
BIS continues to maintain standards and testing information related to waterproofing materials and building construction. Its current standards portal includes information on waterproofing compounds and related testing.
Which Waterproofing Solution Does Your Home Need?
There is no single waterproofing treatment that is correct for every part of a house.
Terrace and Roof Waterproofing
Suitable approaches depend on the existing roof construction, surface condition, drainage, cracks and intended finish.
A professional assessment should consider:
- Surface preparation
- Existing waterproofing
- Cracks
- Slope
- Drain outlets
- Parapet junctions
- Pipe penetrations
- Required protective layer
CPWD specifications demonstrate that roof waterproofing can involve multiple layers and detailing rather than simply painting a membrane onto the surface.
Bathroom Waterproofing
Bathroom waterproofing focuses on wet areas where water exposure is frequent.
Important areas include:
- Shower zones
- Floor-wall junctions
- Pipe penetrations
- Floor drains
- Corners
- Thresholds
- Areas around sanitary fixtures
The treatment method should match the construction and the source of leakage.
External Wall Waterproofing
Exterior walls can develop seepage through:
- Cracks
- Open joints
- Window edges
- Balcony junctions
- Poorly sealed penetrations
- Deteriorated exterior coatings
Before applying an exterior coating, cracks and defective joints should be assessed and repaired appropriately.
Sump and Water Tank Waterproofing
Water-retaining structures need a different approach from a normal exterior wall.
The chosen system must be suitable for the structure and intended water contact.
Do not use an ordinary exterior wall coating simply because it is marketed as “waterproof.”
When Should You Book Professional Leak Detection?
Professional water leakage detection Mysore is worth considering when:
- A damp patch keeps returning.
- You cannot identify where water is entering.
- The leak is behind tiles or walls.
- The ceiling below a bathroom is damp.
- Water bills rise without an obvious reason.
- Leakage continues after a previous repair.
- Waterproofing has already failed once.
- The dampness appears only under certain conditions.
- You are planning expensive renovation or painting over a damp area.
- You want to identify the source before breaking tiles or walls.
This is especially useful when the visible damage is far away from the likely source.
Water Leakage Detection Cost in Mysore
Leak detection pricing depends heavily on the type of investigation required.
A basic inspection is different from an advanced diagnostic survey involving thermal imaging, moisture mapping or pressure testing.
Factors can include:
- Property size
- Number of suspected areas
- Accessibility
- Type of leakage
- Required testing equipment
- Whether plumbing pressure testing is needed
- Whether waterproofing assessment is required
Service Raju’s current Bengaluru leak-detection service lists an advanced thermal water leakage detection package that includes hydro-pressure testing, thermal leak scanning, moisture-meter analysis and non-destructive diagnosis.
For Mysuru homeowners, the appropriate inspection should be selected based on the actual symptoms rather than assuming that every leak requires the most expensive test.
How Service Raju Combines Leak Detection and Waterproofing
Service Raju’s Mysuru service catalogue currently lists both Leak Detection and Repair within plumbing and drainage services and Waterproofing under its home-service offerings.
That combination is valuable because leakage and waterproofing problems often overlap.
A practical workflow is:
- Understand the customer’s complaint.
- Inspect the visible symptoms.
- Identify possible water-entry routes.
- Check plumbing and drainage where relevant.
- Use appropriate diagnostic tools when necessary.
- Recommend the repair based on evidence.
- Complete plumbing repair or waterproofing as required.
- Test the repaired area.
- Restore affected finishes where included.
The objective should be simple: fix the cause, not just the stain.
For water leakage detection, waterproofing or related plumbing assistance in Mysuru, contact Service Raju at 9964544445 or visit www.serviceraju.com.
How to Prevent Repeat Water Seepage
Prevention starts before the next visible stain.
Keep terrace drains clear
Leaves, mud and debris can prevent rainwater from leaving the roof efficiently.
Inspect cracks early
Small cracks should be assessed rather than automatically filled with paint.
Check bathroom plumbing
A leaking fixture or pipe can undermine otherwise good waterproofing.
Watch for early dampness
Do not wait for plaster to fall before investigating.
Inspect after major rainfall
Look for new stains, damp corners and water accumulation.
Check old waterproofing areas
Previous repair patches can be useful clues when diagnosing recurring problems.
Don’t paint over dampness
Fresh paint can hide the symptom temporarily while the moisture source remains.
Test after repairs
A repair should be evaluated before final decorative restoration whenever practical.
Frequently Asked Questions
Should I waterproof before finding the leak?
Usually, the source should be investigated first. Waterproofing is appropriate when the diagnosis indicates that water is entering through a building surface or wet-area waterproofing system. A concealed plumbing leak requires plumbing repair instead.
Can thermal imaging find every water leak?
No. Thermal imaging can provide valuable information about temperature patterns associated with moisture, but conditions, materials and environmental factors affect the result. It should be interpreted with other inspection evidence.
How do I know whether a damp wall is caused by plumbing or rain?
Look for patterns. If dampness changes with rainfall, external water entry becomes more likely. If it appears independently of rain or changes with water use, plumbing should be investigated. A professional inspection may be needed when the pattern is unclear.
How long does waterproofing last?
There is no universal lifespan. Performance depends on the waterproofing system, substrate, detailing, installation quality, exposure, maintenance and building movement. A product’s stated service life should not be treated as a guarantee for every building.
Can painting fix a damp wall?
Painting can improve appearance but does not repair the source of water entry. If moisture remains behind the surface, the paint may blister, peel or deteriorate again.
When should I call a water leakage detection service?
Call when the source is unclear, the problem keeps returning, the leakage is concealed, previous repairs have failed or you are considering major waterproofing work.
Final Water Leakage Checklist
Before spending money on waterproofing:
- Identify where the dampness appears.
- Record whether it changes after rain.
- Check nearby plumbing fixtures.
- Perform a basic water-meter observation when appropriate.
- Inspect terrace drainage and roof details.
- Check bathrooms and wet areas.
- Look for visible pipe or joint leaks.
- Consider professional moisture or thermal inspection when the source is hidden.
- Repair the actual source.
- Waterproof only where the diagnosis requires it.
- Test the repaired area before restoring paint or finishes.
A damp wall is not a diagnosis. A ceiling stain is not necessarily a terrace leak. And waterproofing is not a universal solution for every water problem.
If you are facing recurring seepage, the smarter approach is to detect the source first and then choose the correct repair or waterproofing system.
For professional water leakage detection Mysore, waterproofing and related home services, contact Service Raju – 9964544445 or visit www.serviceraju.com
Leave a Reply